Chicken and Rice for Dogs
So you’re thinking about making your own dog food? That’s awesome! I totally get it – you want the best for your furry buddy, and honestly, homemade dog food can be a game-changer. But before you dive in, let me share everything I’ve learned about this whole homemade dog food thing. Spoiler alert: you’ll definitely want to chat with your vet first!
Why Go Homemade? (It’s Not Just a Trendy Thing)
Look, there are some pretty solid reasons why people are ditching the kibble and getting into the kitchen for their dogs:
You Know Exactly What’s Going In
This is probably the biggest win – you get to be the ingredient detective! No more squinting at labels wondering what “meat by-products” actually means. When you make it yourself, you’re serving up real food, not mystery mush. It’s honestly the healthiest way to feed your dog when you do it right.
Perfect for Dogs with Tummy Troubles
If your dog’s got a sensitive stomach or is dealing with some health issues, homemade chicken and rice is like the ultimate comfort food. It’s super gentle and works wonders for:
- Dogs with diarrhea or throwing up (not fun, but it happens)
- Post-surgery recovery
- Food allergies (no more playing ingredient roulette!)
- Picky eaters who turn their nose up at everything
Pro tip: white rice is your go-to for sick pups because it’s easier to digest than brown rice.
Your Wallet Will Love You
Here’s something that’ll make you smile – homemade dog food can cut your feeding costs in half! Seriously, compared to those fancy fresh food deliveries or premium canned stuff, making it yourself is way more budget-friendly. Just stock up on chicken when it’s on sale and you’re golden.
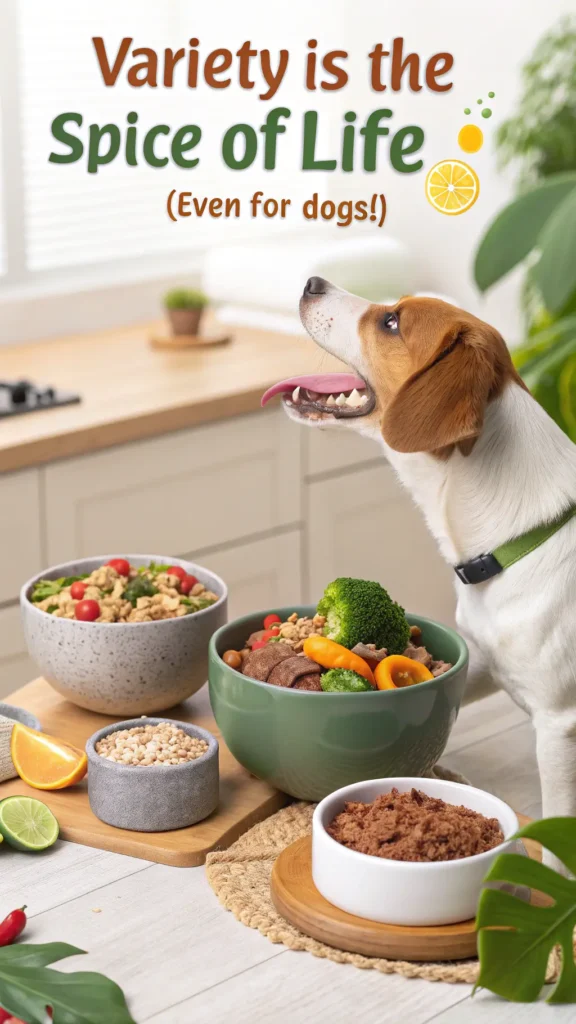
Variety is the Spice of Life (Even for Dogs!)
Instead of the same boring kibble every day, you can mix things up. Your dog gets different nutrients over time, which is actually better than trying to cram everything into one “perfect” meal.
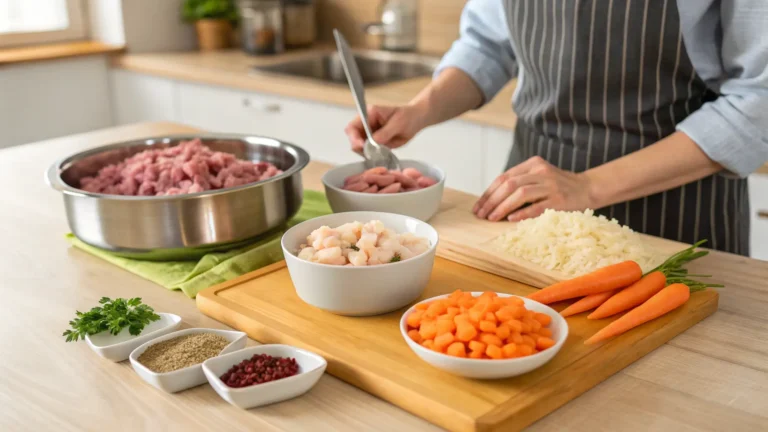
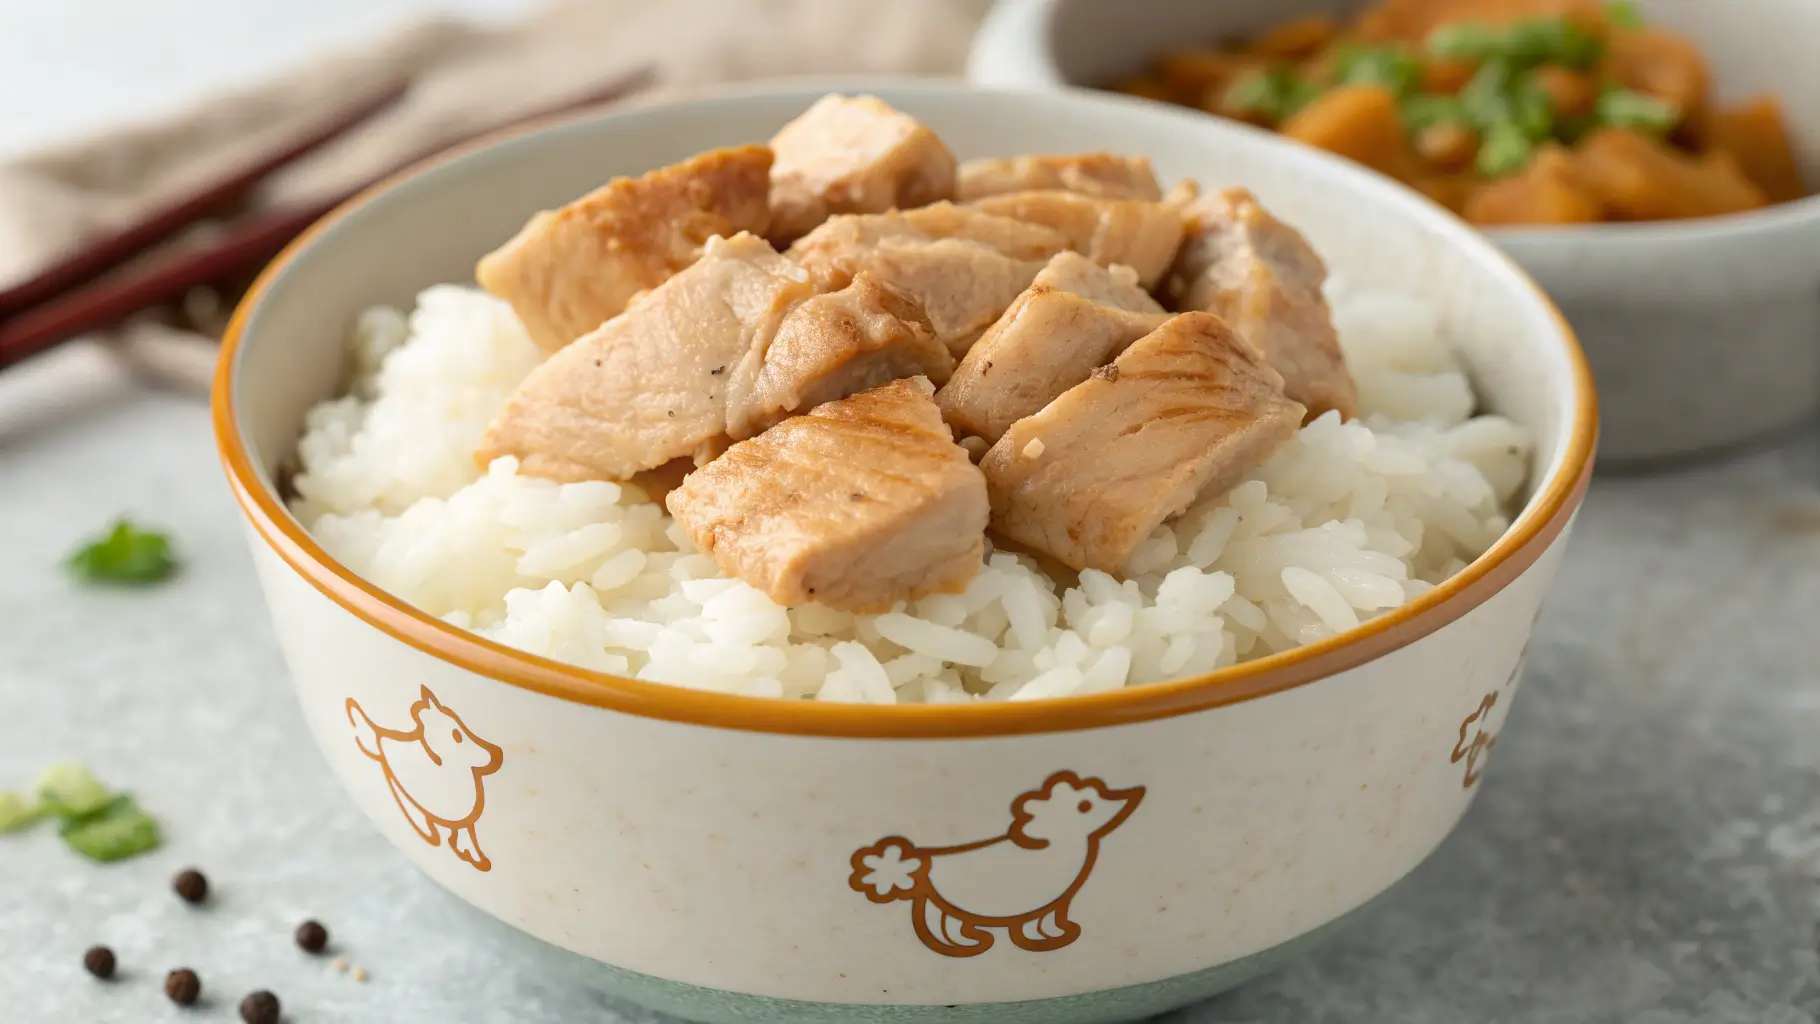
The Basic Recipe: Chicken and Rice (Your New Best Friend)
Alright, let’s talk about the star of the show – chicken and rice. It’s simple, dogs love it, and it’s super versatile.
The Protein Star: Chicken
Stick with boneless, skinless chicken breast – it’s lean and perfect for most dogs. Ground chicken works great too if that’s easier for you.
Important stuff to remember:
- For sick dogs, boil the chicken instead of sautéing it (less fat = happier tummy)
- Cook it to 165°F – yeah, I know, nobody likes using a thermometer, but salmonella is no joke
- Never, EVER give your dog cooked chicken bones – they can splinter and cause serious damage
- Skip the rotisserie chicken from the store – it’s loaded with salt and might have garlic or onion, which are toxic to dogs
Rice: White vs. Brown (There’s Actually a Difference!)
- White rice = the gentle giant. Perfect for dogs with upset stomachs because it’s easy to digest. Cooks in about 20 minutes.
- Brown rice = the fiber hero. Great for healthy dogs because it’s got more nutrients and fiber. Takes longer to cook (45-50 minutes) but worth it.
Quick cooking tip: use about 1¼ cups of water per cup of white rice, but always check the package because some brands are weird.
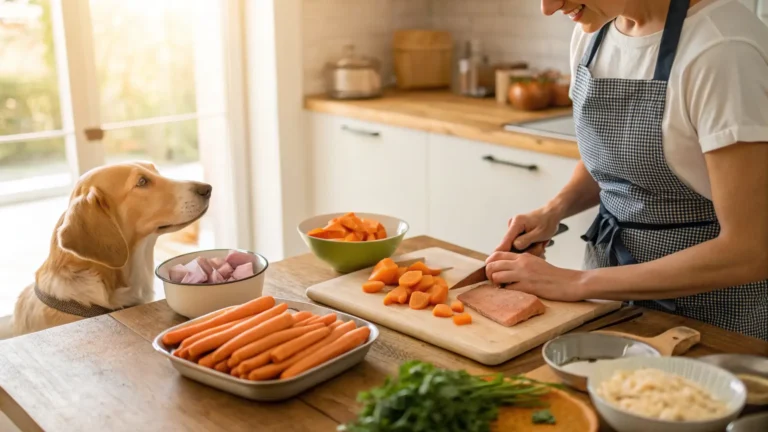
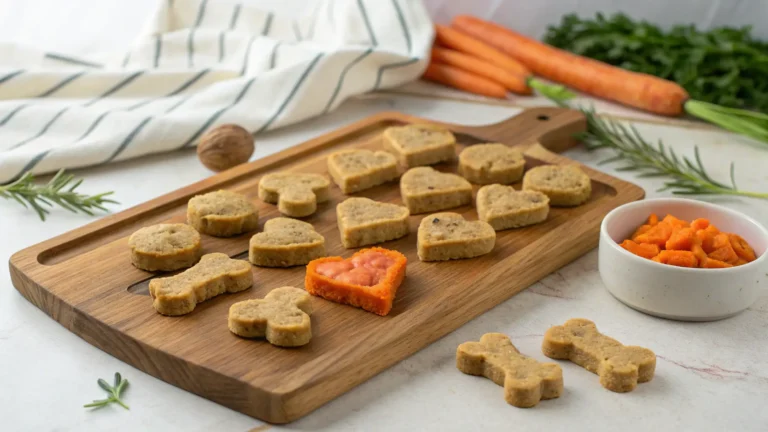
Veggie Add-Ins (When Your Dog’s Feeling Better)
Once your pup’s back to normal, you can jazz things up with some safe veggies:
- Carrots, peas, green beans (the classics)
- Sweet potato, butternut squash (dogs usually go crazy for these)
- Spinach, kale, broccoli (for the health-conscious pup)
Just chop everything super fine so it’s easier to digest. And if your dog’s sick, skip the veggies until they’re feeling better.
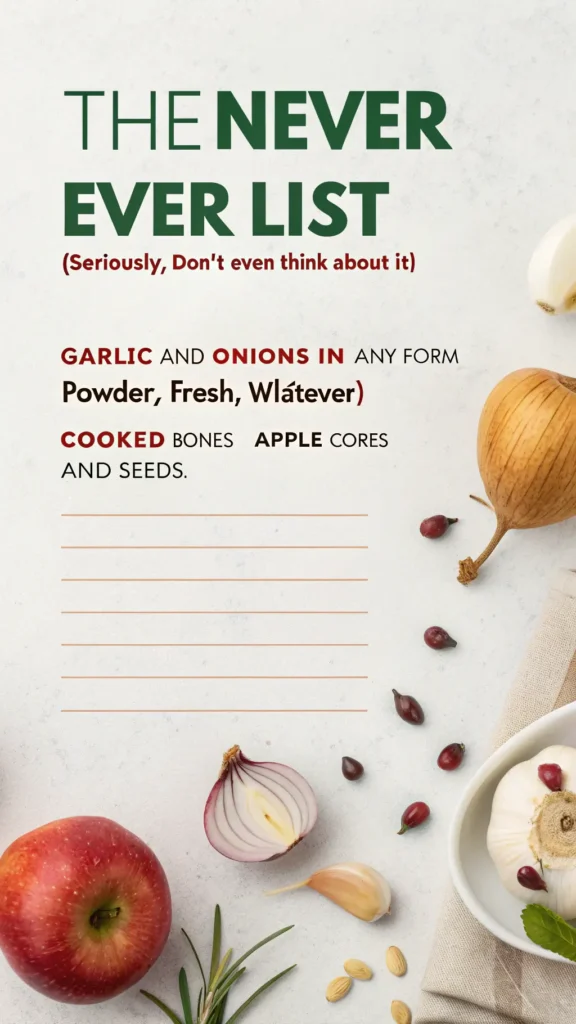
The “Never Ever” List (Seriously, Don’t Even Think About It)
Some things are just off-limits:
- Garlic and onions (in ANY form – powder, fresh, whatever)
- Cooked bones
- Apple cores and seeds
Making Sure Your Dog Gets Everything They Need
Here’s the thing – and I can’t stress this enough – basic chicken and rice isn’t a complete diet on its own. It’s like living on crackers and water; you’ll survive, but you won’t thrive.
Talk to Your Vet First!
I’m gonna sound like a broken record here, but seriously, chat with your vet before making homemade food your dog’s regular thing. They’ll help you figure out:
- What nutrients your specific dog needs
- How much to feed them
- What supplements might be necessary
The Calcium Situation
Dogs need calcium, and here’s a cool trick: crushed eggshells! I know it sounds weird, but grind them up really fine and mix them in. It’s basically natural calcium powder. If you’re grossed out by eggshells, there are commercial calcium supplements too.
Don’t Forget the Good Fats
Omega-3s are super important for your dog’s coat and overall health. You can add some salmon (about 10% of the meal) or use algae supplements if your dog can’t do fish.
Organ Meats (The Superfood Your Dog Doesn’t Know They Want)
Chicken liver is like the multivitamin of the dog world – packed with nutrients. Just use it sparingly (about 10% of the meal) because it’s really rich.
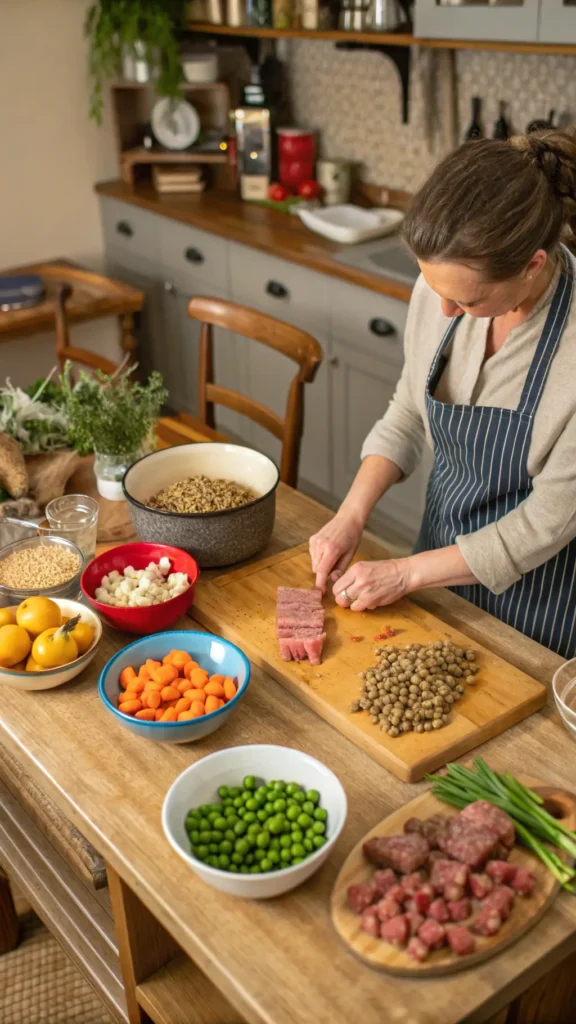
Getting Started: The Practical Stuff
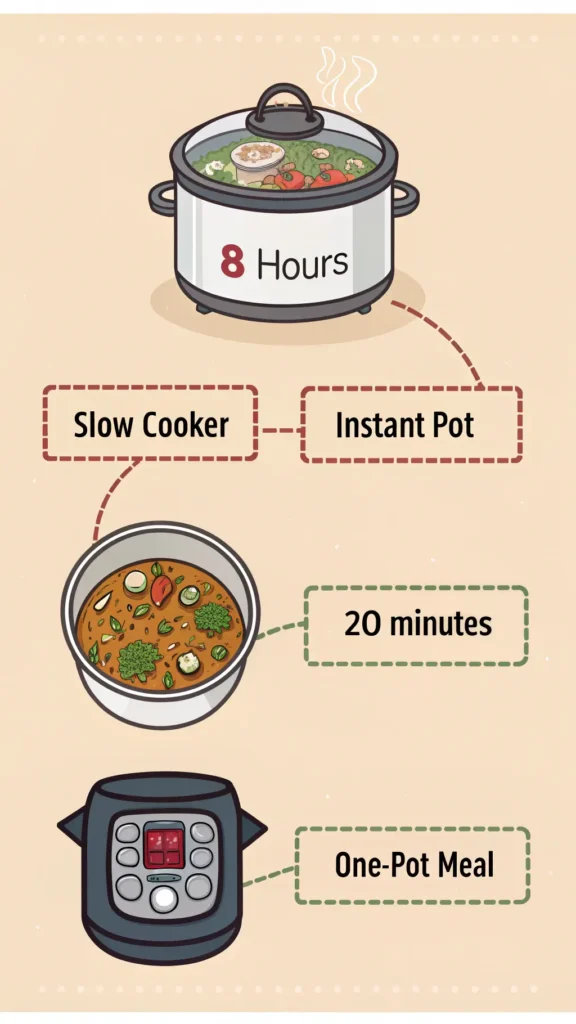
Cooking Methods That Won’t Drive You Crazy
- One-pot meals = your sanity’s best friend. Throw everything in a slow cooker and let it do its thing.
- Instant Pot = when you need food fast (about 20 minutes)
- Slow cooker = set it and forget it (8 hours on low, 5 on high)
Batch Cooking is Your Friend
Make a big batch and freeze individual portions. Future you will be so grateful when you don’t have to cook every single day.
Storage That Actually Works
- Fridge: 3-7 days (make a little crater in the middle so it cools evenly – weird but it works)
- Freezer: 1-3 months in labeled bags or containers
- Let hot food cool completely before putting it in plastic containers (nobody wants microplastics in their dog’s dinner)
Serving Sizes (The Million Dollar Question)
This is where your vet becomes your best friend again. Every dog is different based on size, age, and how much they run around. But here’s a general idea: if you’re using it as a meal topper with kibble, cut back on the kibble a bit to account for the extra calories.
Transitioning Your Dog (Because Change is Hard)
Don’t just switch overnight – your dog’s stomach will not be happy with you. Start with half homemade, half regular food for a few days, then gradually increase the homemade portion.
For picky eaters: Add a little unsalted chicken broth instead of water, or a tiny bit of thyme to make it smell more appealing. Some dogs are just bougie like that.
Safety First (Because Nobody Wants a Sick Pup)
- Cook chicken to 165°F (yes, I’m mentioning this again because it’s important)
- Let food cool completely before serving
- If your dog gets gassy from beans, just skip them next time
- Watch for any weird reactions when introducing new ingredients
The Bottom Line
Making homemade dog food can be amazing for your pup’s health, your wallet, and honestly, it feels pretty great knowing exactly what you’re feeding them. But – and this is a big but – it’s not something to wing. Work with your vet to make sure you’re covering all the nutritional bases.
Start slow, pay attention to how your dog responds, and don’t be afraid to adjust things as you go. Your dog will probably think you’re the best human ever, and really, isn’t that worth a little extra effort in the kitchen?
Just remember: when in doubt, ask your vet. They’ve seen it all and want your dog to be as healthy and happy as you do!